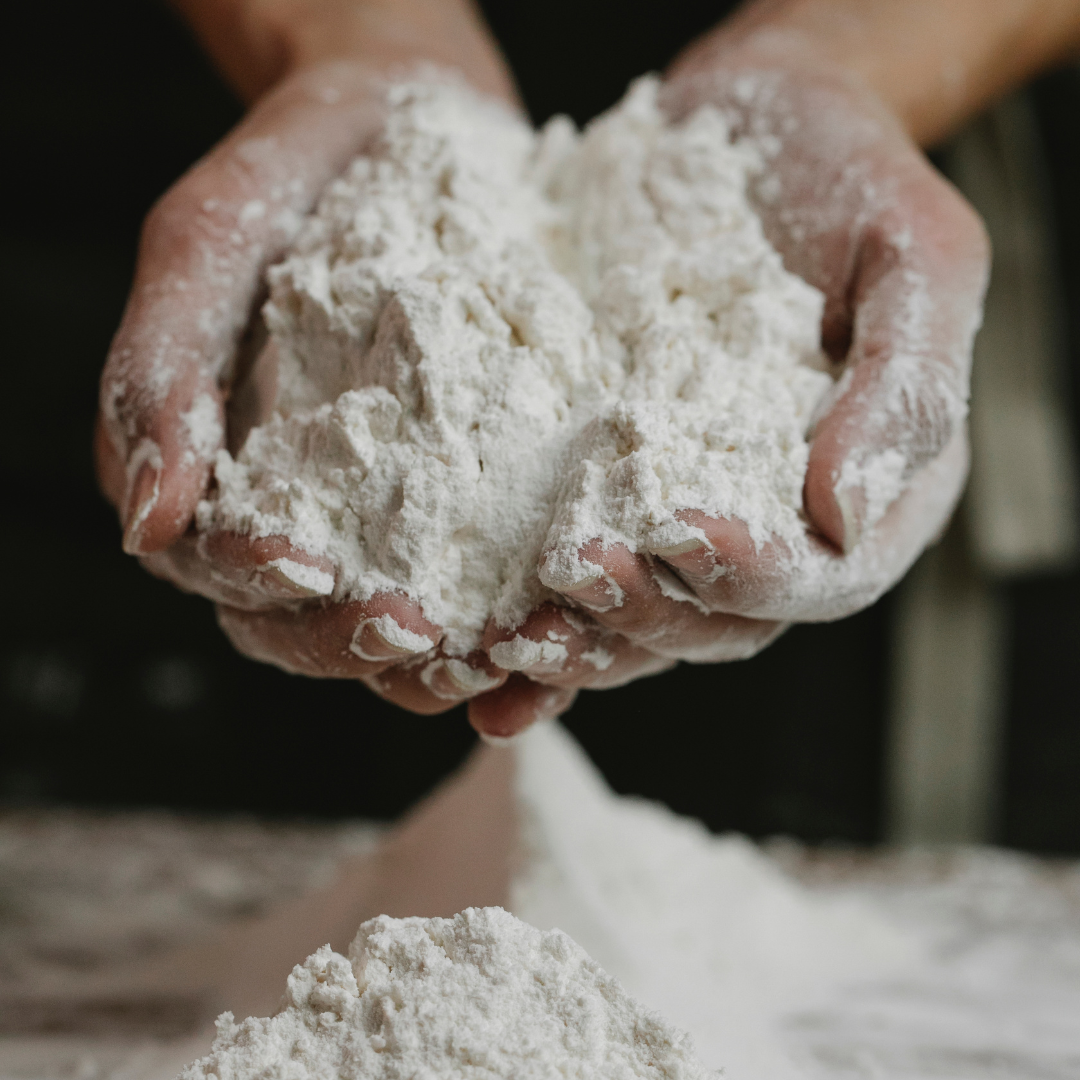
When it comes to baking, there’s nothing quite like the satisfaction of creating mouthwatering treats from scratch. But to achieve baking perfection, you need high-quality ingredients, and one of the key players in your pantry is flour. Whether you’re a novice baker or a seasoned pro, it’s essential to know how to store flour properly to keep it fresh and maintain its quality. In this guide, we’ll delve into some flour storage tips that will help you maximize the shelf life of your baking essentials.
The Enemy of Flour: Moisture
Before we dive into the tips, let’s understand the primary nemesis of flour: moisture. Flour is incredibly susceptible to moisture, which can lead to clumping, spoilage, and even the growth of unwanted microorganisms. To keep your flour in top-notch condition, follow these guidelines:
1. Choose the Right Container
The first step in proper flour storage is selecting the right container. Opt for airtight flour containers that seal tightly to prevent any moisture from getting in. Mason jars, plastic containers with secure lids, and food-grade storage bins work well. Avoid using paper bags or flimsy packaging, as they won’t provide adequate protection.
2. Keep It Cool and Dry
Flour should be stored in a cool, dry place, away from direct sunlight and heat sources. Aim for a temperature range of 50-70°F (10-21°C) for optimal freshness. If your kitchen tends to get hot and humid, consider storing your flour in the refrigerator or freezer.
3. Label and Date
To keep track of your flour and ensure you use the oldest stock first, label your containers with the type of flour and the date of purchase. This simple step will prevent any mix-ups and help you maintain a well-organized pantry.
Types of Flour and Their Storage Needs
Different types of flour have varying shelf lives and storage requirements. Here’s a breakdown of some common flours and how to store them:
1. All-Purpose Flour
All-purpose flour is a versatile staple in most kitchens. To keep it fresh, store it in an airtight container in a cool, dry place for up to 12 months. If you have a surplus or want to extend its shelf life further, consider freezing it.
2. Whole Wheat Flour
Whole wheat flour contains natural oils that can turn rancid over time. Store it in an airtight container in the refrigerator or freezer to maintain its quality for up to 6 months in the fridge and 1 year in the freezer.
3. Bread Flour
Bread flour, with its high protein content, is ideal for bread baking. Keep it in an airtight container in a cool, dry place for about 6-8 months. Refrigeration or freezing can also extend its shelf life.
4. Cake Flour
Cake flour is finely milled and perfect for delicate baked goods. Store it in an airtight container in a cool, dry place for up to 6-8 months. Like other flours, you can also freeze it for longer storage.
5. Gluten-Free Flours
Gluten-free flours, such as almond or coconut flour, are more delicate and prone to spoilage. Keep them in airtight containers in the refrigerator or freezer to maintain their freshness. Always check the packaging for specific storage recommendations, as different brands may vary.
Signs of Flour Gone Bad
Even with proper storage, flour can eventually go bad. Here are some signs to watch out for:
- Off Odor: If your flour develops a rancid or musty smell, it’s time to discard it.
- Unwanted Guests: Keep an eye out for any insects or pests in your flour. These unwelcome visitors are a clear indication that it’s time to say goodbye to your stash.
- Mold Growth: If you notice any signs of mold or unusual discoloration, do not use the flour.
How to Revive Clumpy Flour
Sometimes, despite your best efforts, flour can still become clumpy due to moisture absorption. Don’t worry; you can revive it with a few simple steps:
- Sift: Use a fine-mesh sieve or a flour sifter to break up the clumps and aerate the flour.
- Dry It Out: Spread the clumpy flour on a baking sheet and place it in a preheated oven at 350°F (175°C) for 5-10 minutes, checking frequently. This will help remove excess moisture.
- Cool and Store: Allow the flour to cool completely before transferring it back into an airtight container. Store it according to the recommended guidelines for that type of flour.
Conclusion
Proper flour storage is the key to preserving the freshness and quality of your baking essentials. By choosing the right containers, maintaining the right temperature and humidity levels, and following the specific storage guidelines for each type of flour, you can ensure that your flour remains ready to create delicious, mouthwatering treats for all your baking adventures.
So, whether you’re planning to whip up a batch of chocolate chip cookies, bake a beautiful loaf of bread, or craft a decadent cake, you’ll be armed with the knowledge to keep your flour at its best. Happy baking!
